DIY Sewing Congratulations Sign!
A couple of weeks ago I made a Congratulations Sign for this occasion:
That's right, my husband graduated with his Masters. We were very proud of him!
I had it hanging up in the kitchen in the morning and when my three year old saw it he quickly ran to my 5 year old and yelled out, "Happy Birthday! Your birthday's today, I saw the sign!!"
I had to break the news to him that this sign was not for brother, but for Dad because he was graduating.
Wanna make your own?
Here's how.
MATERIALS:
1. Print out the three papers that spell "Congratulations"
2. Scrapbook Paper
3. Sewing supplies
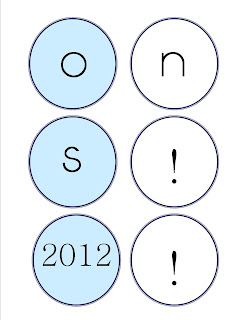
STEP ONE: First thing you do is save and print out these three papers that spell "Congratulations"
(Right click on each image to save, and print on an 8x11 page to get the proper size)
STEP TWO: Cut out each of the letters.
STEP THREE:Gather up matching scrapbook papers.
STEP FOUR: Turn the scrapbook paper around and use a bowl to trace circles.
STEP FIVE: Place circles in the sewing machine and sew together. I left about an inch or two between each circle.
I had never sewn paper before, but it was super easy and fun to do!
STEP SIX: Next place the letters in order on the circle banner and sew around each circle letter. After they're all sewn down, cut off extra thread.
STEP SEVEN: All done, enjoy!
Here's our banner hanging up at the party.
Once I finished making the CONGRATULATIONS sign I decided it'd be fun to make another circle banner with all the extra scrapbook paper. I cut out small and large circles and repeated the pattern of three smalls and two large circles and sewed them up.


Comments